
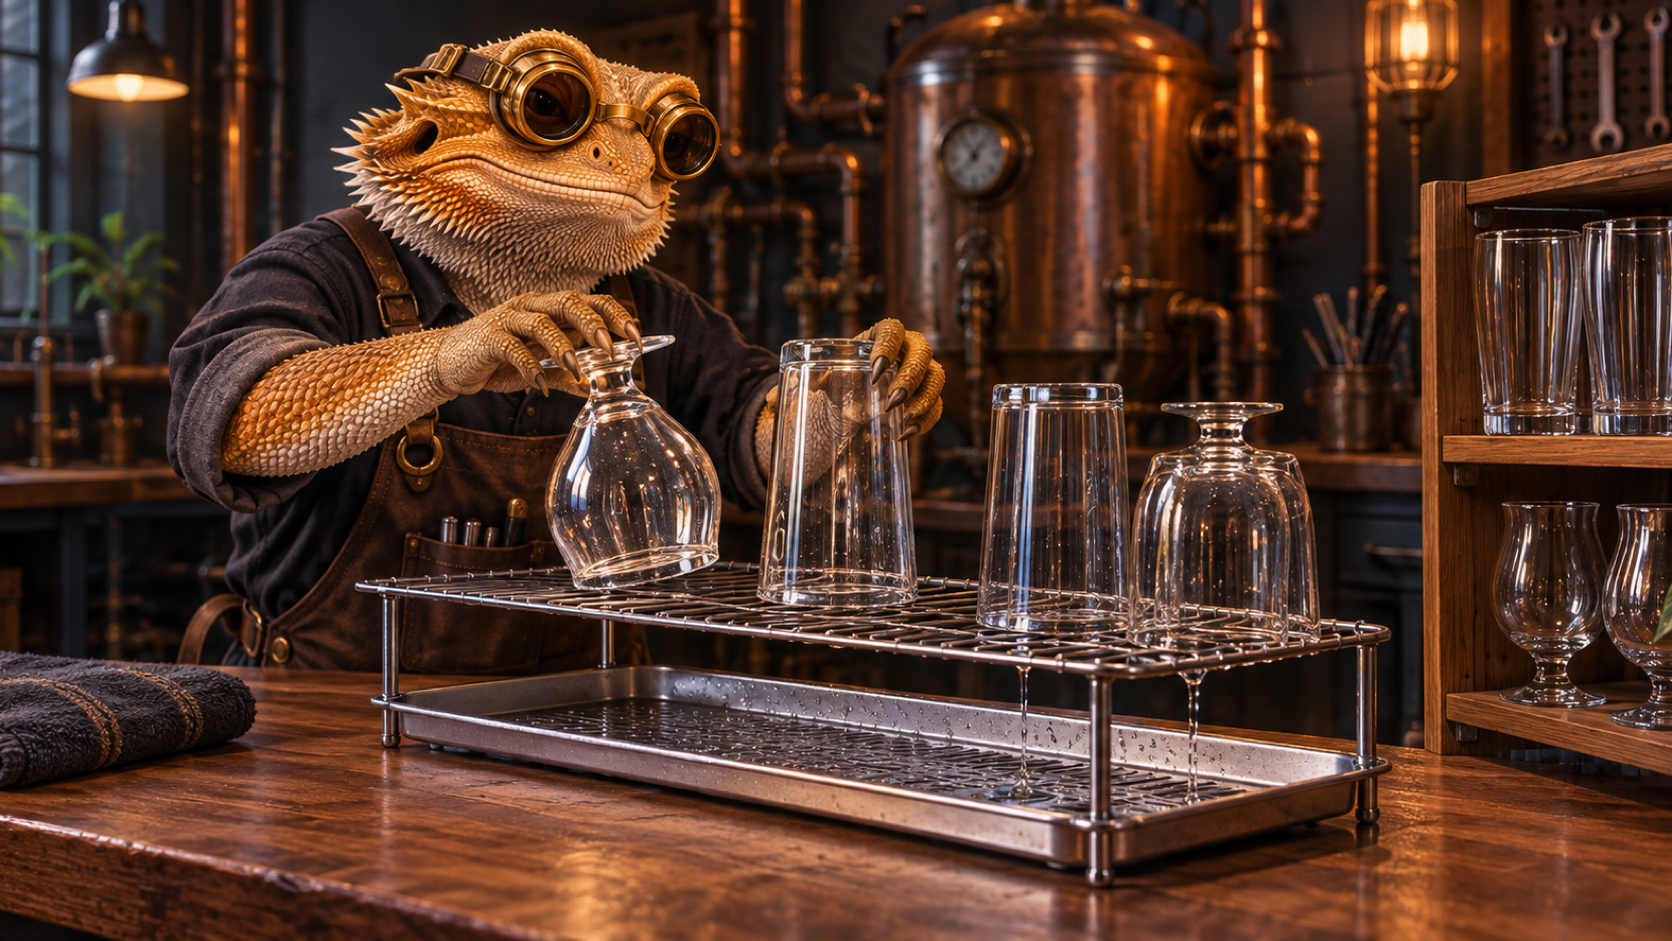
Clean beer glassware does not need a dedicated bar sink or a restaurant-sized drying station. It does need a place to finish drying without becoming the wet, crowded obstacle on a kitchen counter.
That last part matters more than it sounds. A glass set upside down on a damp towel can trap moisture and pick up lint. A freshly washed pint glass balanced beside the stove can collect cooking aroma before its next pour. A rack packed too tightly turns a handful of useful glasses into a small breakage experiment. The goal is not a photogenic home bar. It is a repeatable handoff between washing and storage that keeps the glass clean, dry, and easy to use.
The useful system has three jobs: let water drain away, keep air moving around the glass, and put fragile pieces somewhere they are unlikely to be bumped. Once those jobs are covered, the equipment can be modest.
Drying is part of cleaning, not an afterthought
A glass that is washed well but put away damp is not ready for beer. Residual water can leave mineral spots, trapped moisture can create a stale cabinet smell, and a hurried towel dry can add lint or fragrance back to the inside of the glass.
How To Clean Beer Glasses So Foam and Aroma Work Properly covers the washing routine. The next decision is physical: where does a clean glass sit while the last water drains and the interior air becomes neutral again?
The answer should not depend on remembering to move every glass before dinner. A good drying location makes the safe thing convenient. You should be able to rinse and wash a glass, set it down securely, and return later to find it dry rather than in the path of a pan, a pet, or a stack of dishes.
Choose a rack that drains instead of a surface that absorbs
A raised rack with a drip tray is the simplest dependable option for a small collection. The glass sits above the collected water, air can reach the rim and bowl, and the tray can be emptied and cleaned without relocating the whole setup.
Look for practical features rather than bar-cart theater:
- Stable feet and a rigid frame. A rack should not flex when you place a heavier pint glass on it.
- Enough spacing. Glasses need room to drain without touching rims or knocking together when one is removed.
- A removable tray. Standing water should be easy to notice and discard.
- A footprint that matches the collection. A small rack used consistently is better than a huge one stored in a closet.
- A cleanable surface. Wire, stainless steel, or smooth food-safe plastic is easier to reset than a permanently damp textile mat.
A silicone or microfiber mat can work for a single glass when it is washed and dried promptly. It is a poor permanent answer if it stays wet on the counter for days. Absorbent material hides moisture, carries kitchen smells, and gives you no clear signal that it needs attention.
Inverted, upright, or angled: airflow decides
Most beer glasses dry well inverted on a raised rack because water runs out instead of pooling in the bowl. The caveat is the surface beneath the rim. If the rim seals tightly against a flat, wet surface, the glass can trap humid air. Raised ribs, wire spacing, or angled pegs solve that by leaving a path for water and air.
Upright drying is reasonable for a glass with a narrow or delicate rim when the rack cannot support it safely upside down. It may take longer, and water can collect at the bottom, so inspect it before storage. An angled position often gives the best of both: the opening faces down enough to drain but remains open enough to breathe.
There is no ceremonial correct orientation. Use the one that keeps the rim clean, the glass stable, and the interior dry. The evidence is ordinary and visible: no pooled water, no lingering cabinet odor, and no need to polish the inside with a towel.
Put the station where it can stay clean
Counter space is not neutral. The useful spot is away from direct grease, heavy steam, and the most common collision path. Avoid the narrow strip between the sink and stove, the edge of an island where groceries land, and the space directly below a cabinet that drips after dishwashing.
A few placement questions prevent most trouble:
| Question | Why it matters |
|---|---|
| Can water drain without touching the counter? | It limits standing moisture and makes cleanup obvious. |
| Is the rack outside the cooking and dishwashing aroma path? | Glass holds onto scent surprisingly well. |
| Can someone carry a plate or pan past it without brushing the glasses? | Avoidable breakage is still breakage. |
| Can the tray be removed without moving every glass? | A system that is annoying to clean will become a permanent wet surface. |
| Is there room to let glasses finish drying before storage? | It prevents a rushed transfer into a closed cabinet. |
If the only available space is a busy kitchen counter, make the drying station temporary but deliberate. Set out the rack after washing, empty and dry it after the glasses are ready, and store the rack itself clean. That is still better than treating a folded dish towel as invisible infrastructure.
Keep the collection small enough to handle safely
Drying problems are often collection problems in disguise. If every wash produces more glasses than the rack can hold, the system will overflow into the sink, counter, and nearest cupboard.
For most homes, a small set of versatile glasses makes the workflow easier. The Only Beer Glasses Most People Actually Need is a good starting point: choose useful shapes, then keep enough duplicates for a tasting or a few guests rather than accumulating delicate variations that never get a safe place to dry.
Wash in batches that match the rack. Two glasses after a normal evening may be easy to rinse and air dry immediately. A larger tasting can wait until the rack is clear, or use a second temporary raised surface rather than stacking wet glassware. The best system is sized for the behavior you actually have, not the collection you imagine displaying.
Move glasses only when they are truly dry
Once the exterior and interior are dry, transfer the glasses to their storage spot with clean hands. Do not use the drying rack as permanent display storage unless it stays protected from dust, cooking residue, and accidental contact. Its job is to get glassware from wet to ready, not to become another open shelf beside the kitchen.
Storage has its own constraints: avoid enclosed dampness, strong odors, and risky stacking. How To Store Beer at Home Without Ruining It applies the same principle to the packages waiting for their next pour: dry, stable, protected storage beats an impressive-looking but careless setup.
Before a pour, a quick look is enough. A glass should smell neutral, feel dry, and have no visible dust. If it has sat openly for a while, a cold-water rinse is reasonable. There is no need to turn air drying into a ritual. The point is simply to avoid adding a preventable variable between the beer and the glass.
A five-minute reset keeps the rack useful
After the last glass has dried, empty the tray, wipe it clean, and let the rack itself dry. Once a week, check the feet, tray, and spaces where water collects. If the rack smells stale, feels slimy, or leaves mineral residue, clean it before putting fresh glasses back on it.
That small reset is the difference between a drying system and a damp piece of counter furniture. A home bar works best when its tools quietly support the next good pour: clean glass, sensible temperature, and less unnecessary drama. A stable rack, a clear tray, and enough breathing room for the glasses are all it takes.