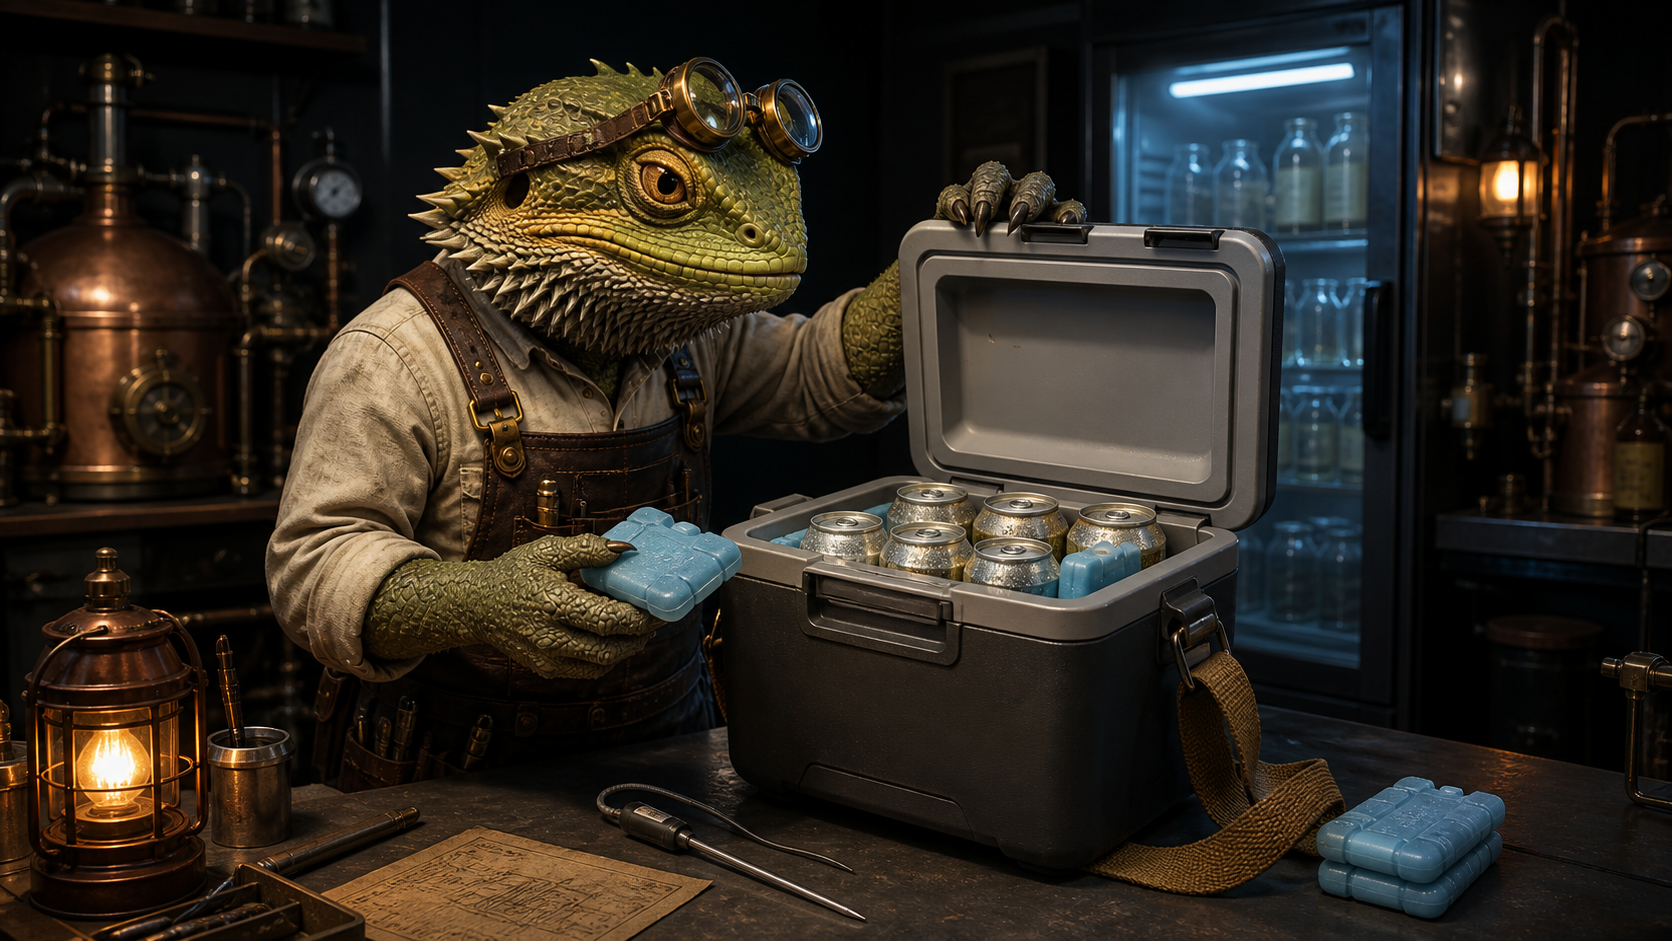
A beer cooler for a weekend trip does not need to imitate a refrigerator. It needs to hold a modest selection at a stable, sensible temperature while fitting in the car, leaving room for food, and not creating a puddle or a glass-handling problem at the destination.
That is why the useful buying question is smaller than “which cooler keeps ice the longest?” A cooler that holds ice for a week is not automatically better for two nights if it weighs too much empty, eats the trunk, or encourages you to bring more beer than you can reasonably enjoy. The right cooler is the smallest durable system that handles the actual trip.
Choose the job before the size
Start with the beer, food, and duration. For a weekend, a small hard-sided cooler or a well-built soft cooler is often enough for a few cans, water, and a cold pack. A larger chest makes sense only when it will serve a group, a longer drive, or a campsite with no reliable refrigeration.
| Trip | Better cooler shape | What to optimize |
|---|---|---|
| One night, a few cans | Compact soft cooler | Easy carry, low empty weight, room in a hotel refrigerator if available |
| Two to three days, car travel | Small hard-sided cooler | Insulation, stable lid, easy cleaning, protected cans or bottles |
| Group picnic or campground | Medium hard-sided cooler | Capacity, drainage, robust handles, enough ice without overpacking |
Capacity should be stated in the things you plan to carry, not merely quarts. Lay out eight cans, two bottles of water, ice packs, and a little loose ice at home. If the lid does not close without forcing it, the advertised number is not your real capacity.
Insulation matters, but ice management matters more
Good insulation buys time. It does not fix a warm cooler that was packed with room-temperature beer and opened every ten minutes. Chill beer and the cooler before loading when possible. Use cold cans or bottles, cold water, and fully frozen ice packs. Then keep the lid closed until someone has made a decision.
Reusable ice packs are clean and predictable for a short trip. Loose ice can fill awkward spaces and cool faster, but it melts into water and needs drainage or containment. For a car weekend, a practical approach is a few flat ice packs around the sides and bottom, with a small amount of bagged ice only if the weather or duration calls for it. Keep paper labels, snacks, and electronics out of the wet zone.
Beer is not one temperature target. Most crisp lagers and hop-forward cans are happiest cool; stronger, darker beer may reveal more character after a short rest rather than being served near freezing. The cooler’s job is temperature control and protection, not turning every beer into the same cold object. How To Choose Fresh Beer While Traveling Without Chasing Every Release helps decide which beer is worth bringing in the first place.
Pick hard-sided or soft-sided on purpose
A hard-sided cooler is the safer default for beer in a car. Its insulation is usually better, its shape protects cans and bottles, and the lid can serve as a temporary stable surface. Look for a latch that is easy to operate, a gasket that seals without theatrics, and handles that do not punish your hands when the cooler is full.
A soft-sided cooler earns its place when walking distance and storage matter more than multi-day ice retention. It works well for a short outing, a picnic, or a few cans brought from a hotel room. It is not the right place for loose glass bottles rolling next to hard ice packs.
There is no need to buy a premium expedition cooler for every weekend. Pay for durable hinges, usable handles, a drain you can clean, and insulation that suits your climate. Skip rugged-looking extras if they make the cooler harder to lift or clean.
Pack beer so it arrives intact
Pack cans upright when the cooler shape allows it; use a divider, towel, or small bag to keep them from rattling. For glass bottles, add more protection: keep them away from the hard walls, separate them from loose ice, and do not put heavy food on top. Never treat a cooler as permission to transport open containers or drink while driving.
Place the beer you expect to open first near the top. Put water and non-alcoholic choices where they are equally easy to reach. That reduces lid-open time and makes the gathering more comfortable for everyone. If a destination has a refrigerator, move the next few beers there after arrival and let the cooler recover.
For a quick temperature check, a small probe thermometer is more useful than guessing from a sweaty lid. It is not a requirement for a picnic; it is helpful when you are learning whether your ice plan works in heat. Record the weather, load, and how often the cooler was opened. One ordinary weekend will teach more than a cooler’s marketing claim.
Maintain the cooler after the trip
Drain meltwater promptly, wash the interior with mild soap and water, and dry it fully with the lid open. A sealed, damp cooler is how yesterday’s picnic becomes next month’s smell. Check the gasket, drain plug, and strap or handle before putting it away.
The buying decision should leave you with a repeatable system: a small cooler, chilled beer, enough ice, protected packaging, water, and a realistic plan for getting home safely. That is a much better weekend setup than a giant chest packed with anxiety and half a brewery. For more deliberate beer-travel planning, visit The Beerded Engineer.